For Publishers
How to be a successful publisher on Kavyar
Introduction
I. Platform overview
II. Make your Publisher Page look great
III. Make your calls for work stand out
IV. How to get more exposure
V. Growing your brand and reputation
VI. Getting Help
How to Use Labels in the Publisher Inbox
Best in Design
Logo Best Practices
How to Update Your Payout Info
How to Send Tear Sheets to Contributors
Publisher Page Overview
How to Upgrade Your Account
How to Add a Cover Image to a Call for Work
How to Close or Delete a Publisher or Business Account
How to Upload a Logo
Kavyar PR for Publishers
Starring Calls For Work
Adding Pro Discounts
How to Upload Featured Published Work
How to Upload a Cover Image to a Business Page
Publisher Plans Are Changing – What You Need to Know
Creating Call for Work Options
Create a Website for Your Publication on Kavyar
How to Add Guidelines and Response Templates
PRO Upgrade Commission Program
Sponsored Calls for Work
How to Add Team Members to Your Publisher Account
Adding Submission Options
Genre list update
Creating Private Calls For Work
How to Add a Call For Work
48-Hour Response for PRO Members
Cancel my Business subscription
How to Update Your Publisher Information
How to Add Rights and Exclusivity
Overview of Calls for Work
How to Add a Mood Board
Quick Start for Publishers
Popular Publishers
How to Fill Out Basic Info
Call for Work Option Included Services Glossary
How to Add a Tagline and Bio
How to Add Image and Wardrobe Credit Requirements
Only on Kavyar
How to Add a genre or theme to a call for work
How to Add and Remove Featured Magazine Covers
Kavyar Community and Membership
Creating Your Modeling Intro Video
Guidelines for AI-Generated Work
Glossary of Genres
My Portfolio Was Not Accepted. What Next?
Privacy & Safety
Commenting Etiquette
Managing Subscriptions Purchased Through Apple
Messaging Etiquette
Blocking
Notable Profiles
DMCA Copyright Infringement Policy and Takedown Requests
Cancel my Creative Subscription
Request removal of a deceased person's Kavyar account
Creating Your Walk Video
Creating Your Model Digitals
Why are certain links hidden from my Kavyar profile?
What is sensitive content?
How do message credits work?
Recommendations and Reviews
What are genres and keywords?
What are agency rosters?
Portfolio Website and Bio Link
What are Website and Bio Link?
What Is a Portfolio Website?
What Is a Bio Link?
How to Edit Your Bio Link
FAQ - Portfolio Website and Bio Link
Connecting a Name.com Domain to Your Kavyar Site
Connecting a Squarespace Domain to Your Kavyar Site
Connecting a GoDaddy Domain to Your Kavyar Site
Connecting a Domain to your Kavyar Site
Getting Published
How to edit a submission
What Are Contribution and Advertising Options?
How to message publishers on a submission
Exclusive photos and exclusivity periods
How do I cancel a submission?
What Are Submission Upsells?
What Is Kavyar Submitter Protection?
I have a question about my submission. Who should I contact?
How to upload release forms
Saved Calls for Work
How Do I Submit My Work to Publishers?
Policies
Privacy Policy
Terms of Service
Policies for Publishers
Prohibited Content Policy
Kavyar Subscription Commission Program Terms
Guidelines for Submitters
Payment Disputes & Account Policy
FAQs
I accidentally opted out. Can I still receive special offers?
When will I get my tearsheets?
Who Can View Instagram Links on Kavyar Profiles?
Can I organize photos on my Kavyar Website?
Remove Deleted or Private Images from Google Searches
How do I make photos private?
How do I remove my credit from an image?
How long will it take for my submission to be reviewed?
Can I organize or rearrange photos on my Kavyar Portfolio?
Hiding Photos from Your Profile
How to add or edit team credits on a photo
Who owns the image copyright?
When will my submission be published?
How to delete a photo from your profile
How do I delete my Kavyar account?
How to Deactivate My Website
Add captions to photos
How do I make photos public?
Kavyar Jobs
Difference Between “Close Applications” and “Close Post”
Why is my job post under review?
Posting Jobs on Kavyar
What Are Restricted Job Posts?
How to Write a Great Job Post Title
What are filtered applications?
How to Write a Great Project Description
Businesses
- All Categories
- For Publishers
- How to Use Labels in the Publisher Inbox
How to Use Labels in the Publisher Inbox
Labels are used for tagging submissions to help with sorting your inbox. Labels are entirely customizable so you can use whatever key words you like, and you can create as many as you need to help stay organized.
How to Use Labels
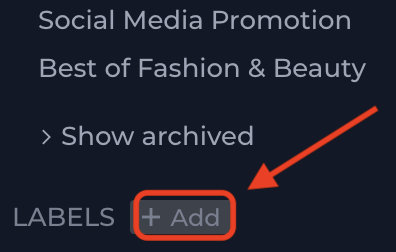
- To add a label, click on the "+ Add" button next to "Labels" in your publisher dashboard. It is on the left side of the screen underneath all of your submission categories, so you may have to scroll down to see it:
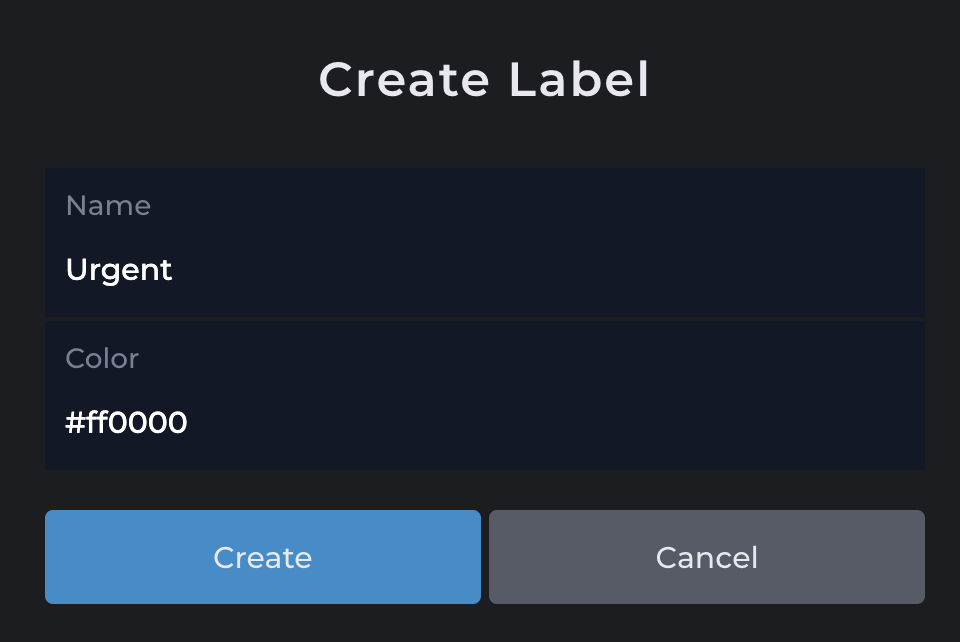
- In the "Create Label" screen, you will enter the name of your label, as well as your desired color in Hex Value format. The default color is red.Need help with finding the hex value for your desired color? Use this free Hex Color Picker Tool.
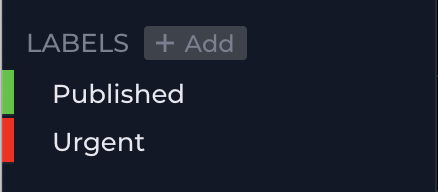
- Once added, labels can be found under your submission categories in the sidebar of the publisher dashboard.
- Once you have created your labels, you can tag a submission by clicking the "More" button in the upper right hand corner of the submission and selecting the desired label(s). You can tag the submission with a single or multiple labels. The system does not require that you label all submissions.
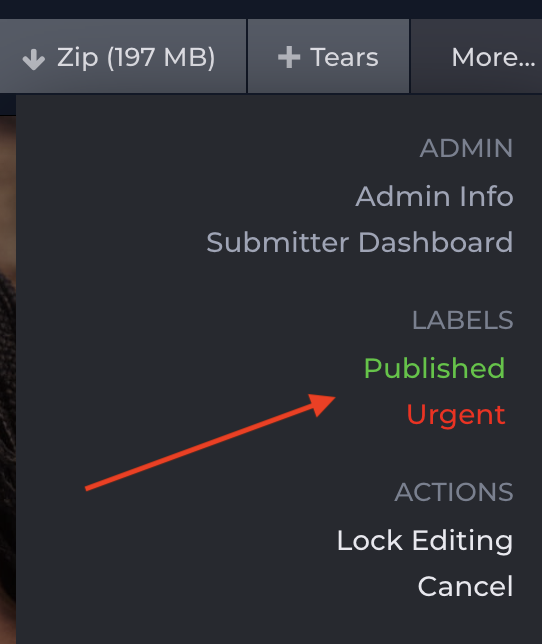
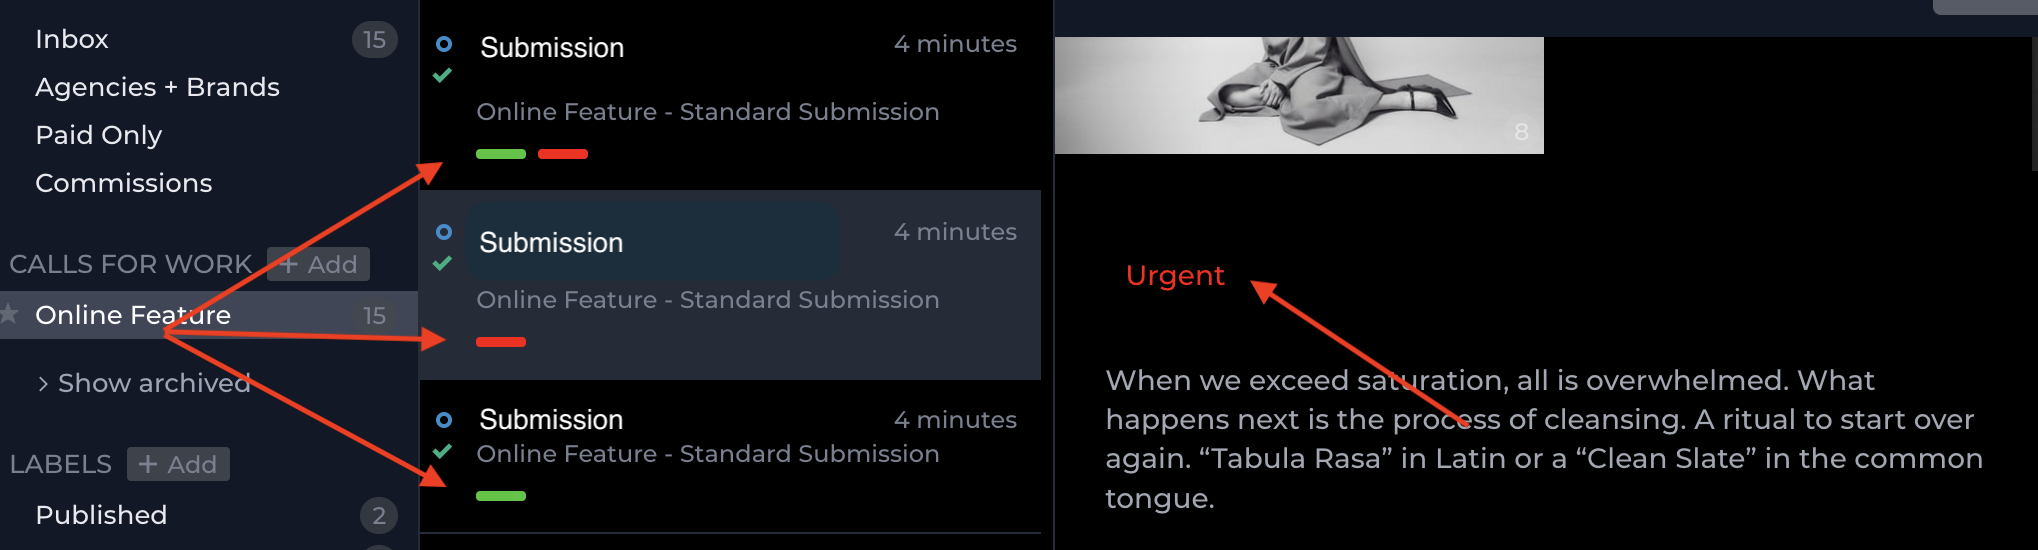
- Once a submission has been labeled, the tag is visible in the submission list as well as on the submission itself.
- If you want to view all of the submissions that have been tagged with a particular label, just click on the label from the left pane. Your submission list will be updated to show only the submissions tagged with that label. You can also update or delete your label from this view.